
Beginner’s Backyard Garden
This post contains affiliate links. If you click and make a purchase, I may earn a small commission at no extra cost to you.
I’ll be honest. It’s been a few years since we tried our hand at a garden. About four years ago, I had planned out this beautiful garden that included just about every vegetable you can think of. I started in January, picking out which veggies we would plant and then I even drew the garden out on a piece of paper so that I could arrange everything perfectly. This is the accountant coming out in me, I guess. I love a good list or diagram and planning things right down to the tee. And it was perfect!
So springtime rolled around and I picked the perfect spot in our yard to plant this fairy tale garden. We spent an entire day planting. We had the rows perfectly spaced and had labeled each row so that we would know what was where. It looked fabulous. Professional even. You wouldn’t have known that we had never planted a garden before.
But then the heat of summer came in with a vengeance. And it seemed like everything started growing all at once. Which is great, right? Well yes, but when you pair this huge garden with the fact that we were complete beginners and both had full time jobs, needless to say we got in over our heads pretty fast. We couldn’t keep up with all the weeds and eventually just gave up trying to keep them out. The corn didn’t produce, and the tomatoes never ripened. The only thing that I remember that did decently well that year was the squash and okra.
We took a few years off and decided that this year was the year to get it back going again. However, on a MUCH smaller scale. Instead of tilling up half the yard and planting it all, I decided to focus on growing two vegetables. Now I know two doesn’t seem like a lot. And I know that as a brand-new gardener, there is almost some kind of high that comes from the thought of being able to produce your own vegetables for the year. But the thing you have to think about is a) how much time you have to dedicate to your garden, and b) how are you going to utilize all these veggies, especially if they all start coming in at the same time?
With those two things in mind, I decided to plant tomatoes. I can eat a fresh, home-grown tomato straight off the vine, but there are tons of shelf stable items that you can make from them as well such as salsa and pasta sauce, which are two items that I use regularly when cooking. Since I decided to scale way back, let me walk you through the process of getting the garden started.
What you need to know
There are a few things that need to be planned out ahead of time before going out and buying your plants or seeds. The most important is probably the easiest, and that is deciding what to plant. My advice is to think about the veggies that your family loves to eat during the summer and narrow down from there.
Secondly, how are you going to plant your veggie? A great idea for those just starting out is to buy one or two garden boxes. I bought mine from Amazon, but there are endless options at just about every home and garden store. Other options for planting are obviously straight in the ground, but if you go this route you will need a tiller in order to work the ground before planting.
Lastly, think about harvesting and storage. One big lesson we did learn from the huge fairy-tale garden is that vegetables don’t wait, nor do they ever seem to coincide with your schedule when they start ripening. Many of the vegetables that we planted that year went to waste just because we weren’t able to keep up with picking what was ready. So make sure you have a plan on how you’re going to store your harvest until you are able to use it or preserve it.
Supplies
You will need the following supplies to get started:
- Garden box or container big enough for planting (this is the one I used)
- Soil to fill the garden box
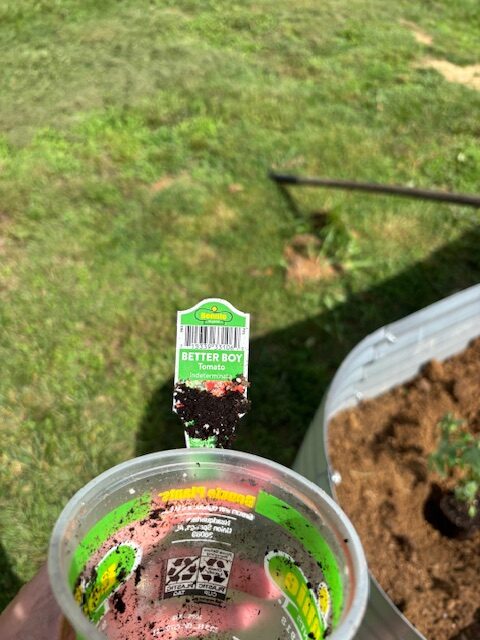
- Plants or seeds, depending on which veggie you choose (this is the variety I chose)
- Fertilizer
- Tomato stakes or cages (not needed for every vegetable)
- Garden Hoe for digging holes as well as removing weeds as needed
Step 1
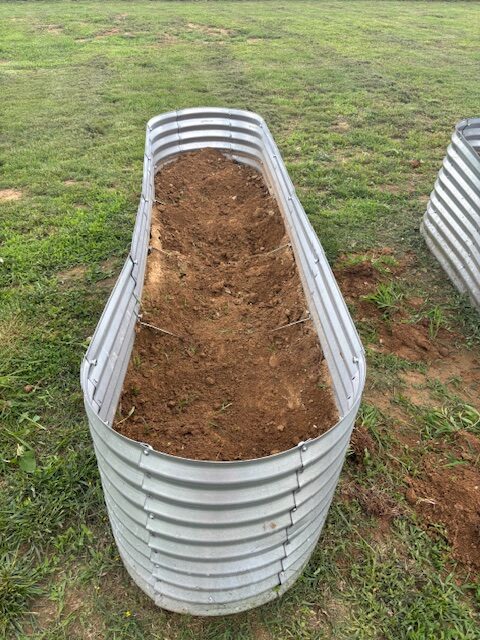
Get your garden box or container set up. The boxes that I purchased were very easy to put together and we had them set up within an hour.
Step 2
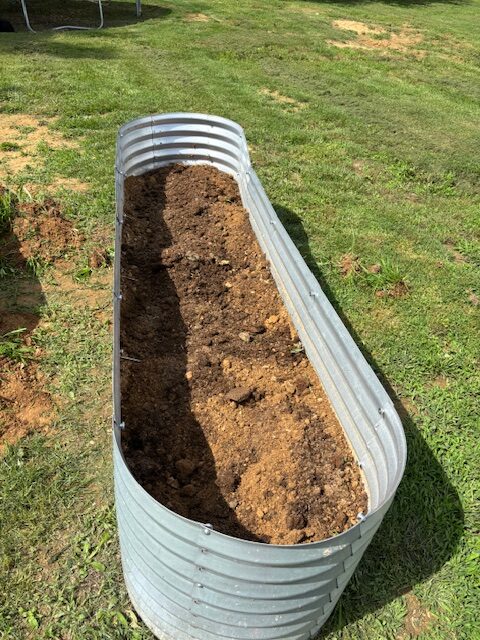
Fill your garden box. My boxes are fairly deep, so we filled the bottom with sticks and leaves before finishing off with topsoil, as you can see in the previous photo. This is a great trick to save money on soil as the sticks and leaves will break down over time and incorporate into the soil.
Step 3
Depending on what type of fertilizer you use, it can be mixed in with the soil before planting or applied to the plants after planting. We used organic compost (aka decomposed horse manure) and mixed it in with the topsoil prior to planting. Since we have horses, we have an abundance of composted manure, so this was the easiest option for us and as a bonus it was completely free.
Step 4
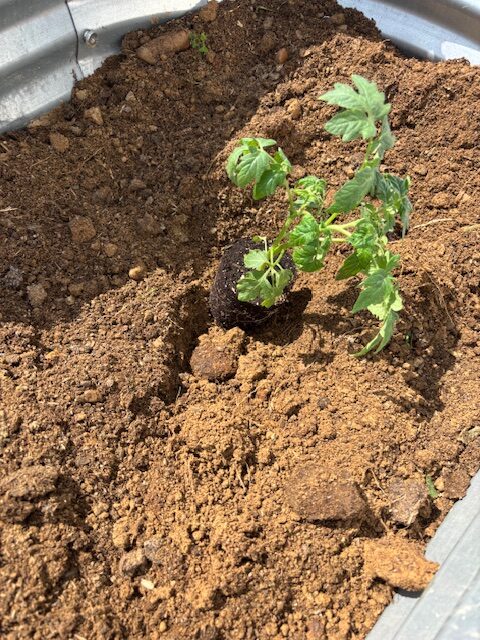
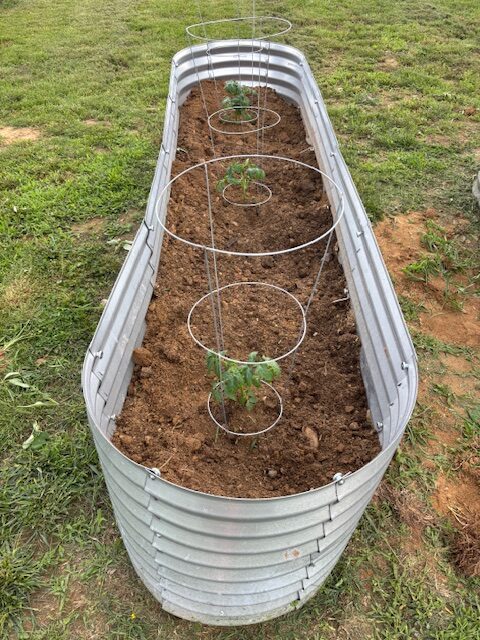
It’s time to plant! For my tomatoes, I used the garden hoe to make a small hole in the soil and then dropped the plant in. Then I mounded the dirt up around the base of the plant to give it some stability while the roots develop and take hold. I used the Better Boy variety of tomato plants, as shown.
Step 5
Support your plants. Not every vegetable will require support as it grows, but tomatoes do. As they get taller and start producing, the limbs will get heavy and start to droop. You definitely do not want your tomatoes touching the ground as this is an invitation for pests and other diseases to take hold in your crop. I used tomato cages as support for mine, but you can also buy stakes or use anything you have laying around that is relatively straight and strong enough to hold the weight of the plant as it grows.
Step 6
The last and final step might be the most important. Water, water, water! Make sure to give your plants a good drink after getting them planted. This will encourage the roots to establish and take hold in the garden beds. We have been in a drought the past few months, so I am currently having to water every day. Also, a good tip when watering tomatoes is to water as close to the base as possible. This helps keep disease from growing on the leaves and jeopardizing your crop.
I hope you enjoyed this post and learned a little something. If you take away nothing else, just remember to start small! You can always expand the next year but it’s so easy to get in over your head quickly with gardening, especially if you’re working a full time job and managing a family.